If you’ve ever wondered how to knead dough like a pro , you’re in the right place! Kneading is a fundamental technique in baking that helps develop gluten, giving your bread its structure and texture. Whether you’re making a simple loaf of bread or an elaborate pastry, mastering the art of kneading is essential. In this guide, we will explore the step-by-step process of how to knead dough effectively. You’ll learn not just the “how,” but also the “why” behind each step, ensuring you can replicate the results every time you bake. This method is designed for everyone, from beginners to seasoned bakers looking for a refresher. With patience and practice, you’ll find that kneading dough can be a satisfying and even therapeutic process. So roll up your sleeves and get ready to transform simple ingredients into something magical!
Why You’ll Love This How To Knead Dough
- Builds Strength in Your Dough: Properly kneading dough helps develop gluten strands that provide strength and elasticity. This results in baked goods that rise beautifully and have a lovely chewy texture.
- Enhances Flavor Development: As you knead, the process encourages fermentation in yeast-based breads. This leads to improved flavor profile as well as aroma in your final product.
- Therapeutic Process: Many find the act of kneading dough relaxing and meditative. It allows you to connect with your food while engaging physically with the ingredients.
- Customizable Techniques: Once you understand basic kneading methods, you can experiment with different techniques to achieve various textures in your baked goods.
Ingredients for How To Knead Dough
Here’s what you’ll need to make this delicious dish:
- All-Purpose Flour: This versatile flour works well for most types of bread. For more structure, consider using bread flour instead.
- Active Dry Yeast: Use fresh yeast for best results; it’s crucial for leavening your dough.
- Warm Water: The water should be warm (about 110°F/43°C) to activate the yeast without killing it.
- Sugar: A little sugar feeds the yeast and enhances browning during baking.
- Salt: Salt adds flavor and controls yeast activity; don’t skip this ingredient!
The full ingredients list, including measurements, is provided in the recipe card directly below.

How to Make How To Knead Dough
Follow these simple steps to prepare this delicious dish:
Step 1: Combine Ingredients
In a large bowl, mix together flour, sugar, salt, and yeast. Gradually add warm water while stirring until a rough dough forms.
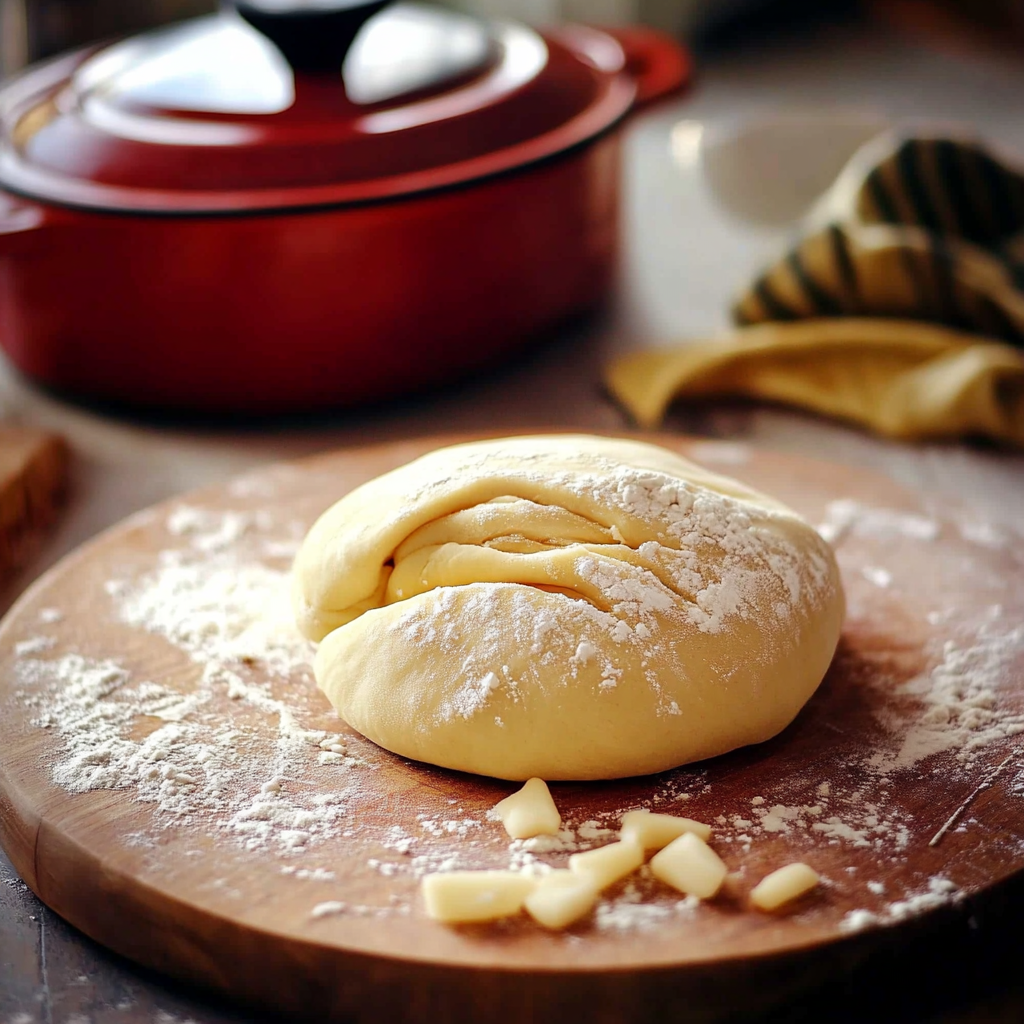
Step 2: Begin Kneading
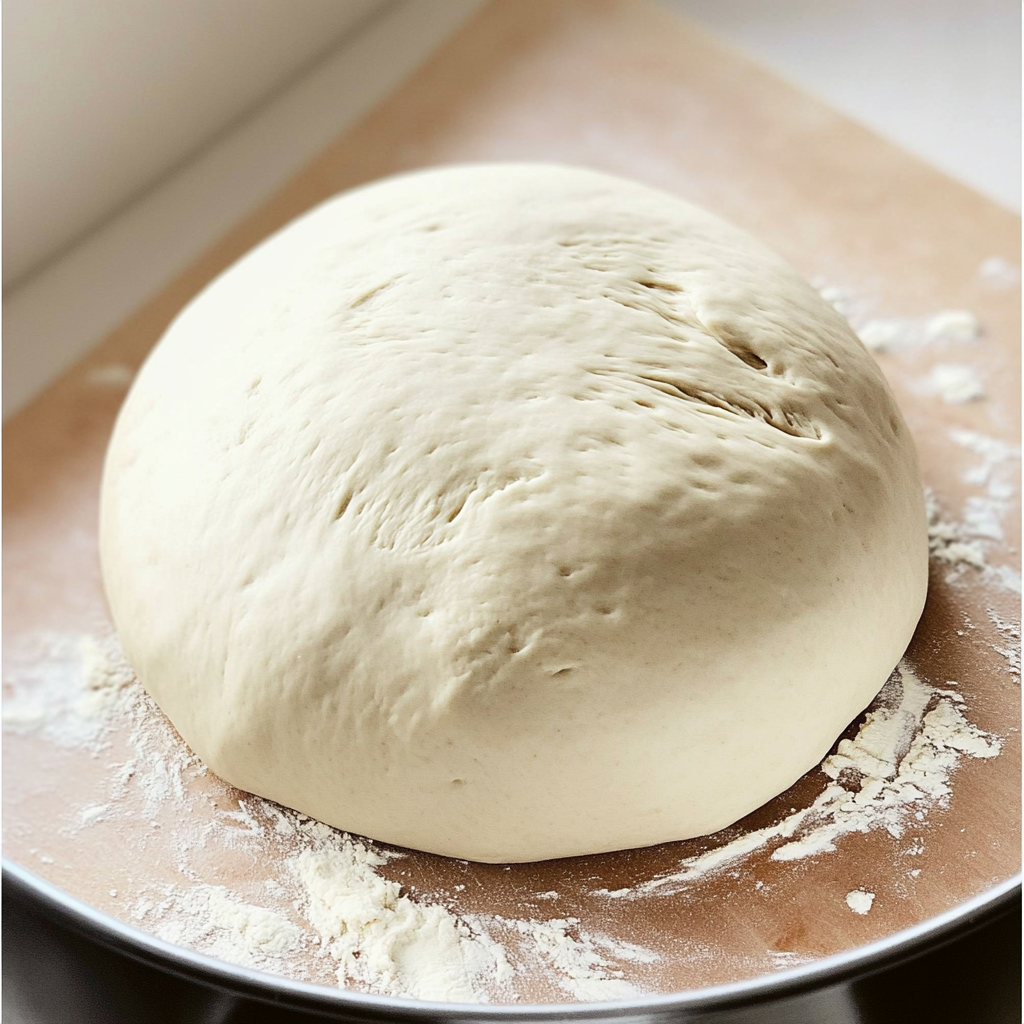
Transfer the dough onto a floured surface. Start folding and pressing down on it with your palms, pushing away from your body.
Step 3: Continue Kneading
Keep folding and turning the dough every few minutes. You want it to become smooth and elastic; this usually takes about 8-10 minutes.
Step 4: Check Doneness
To test if the dough is ready, perform the “windowpane test.” Stretch a small piece of dough between your fingers; if it holds its shape without tearing easily, it’s well-kneaded.
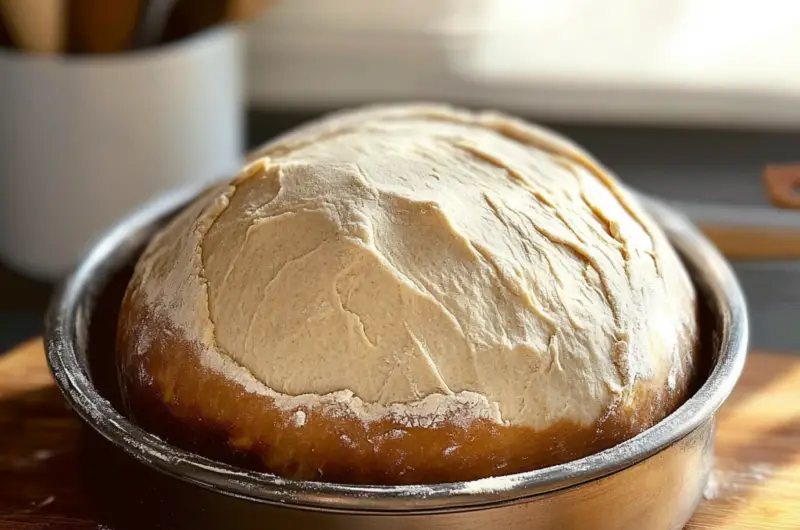
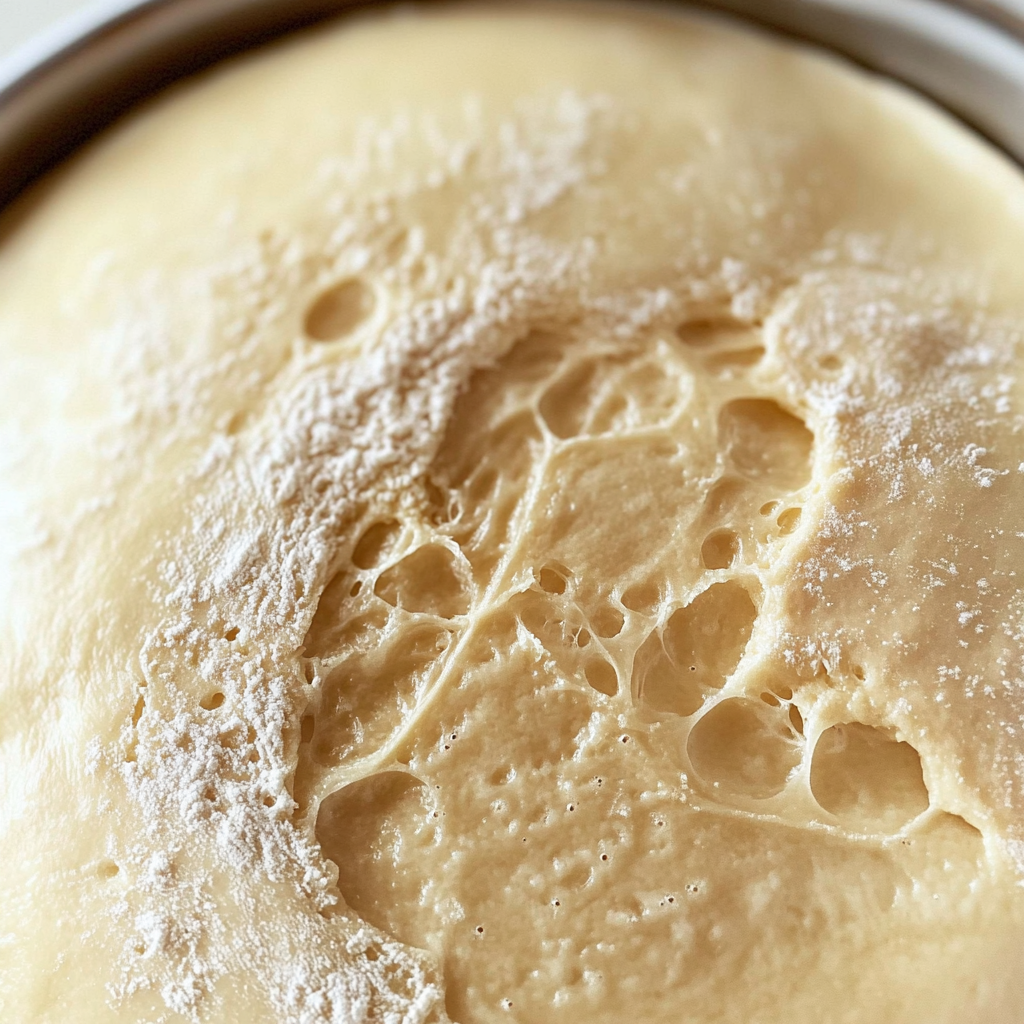
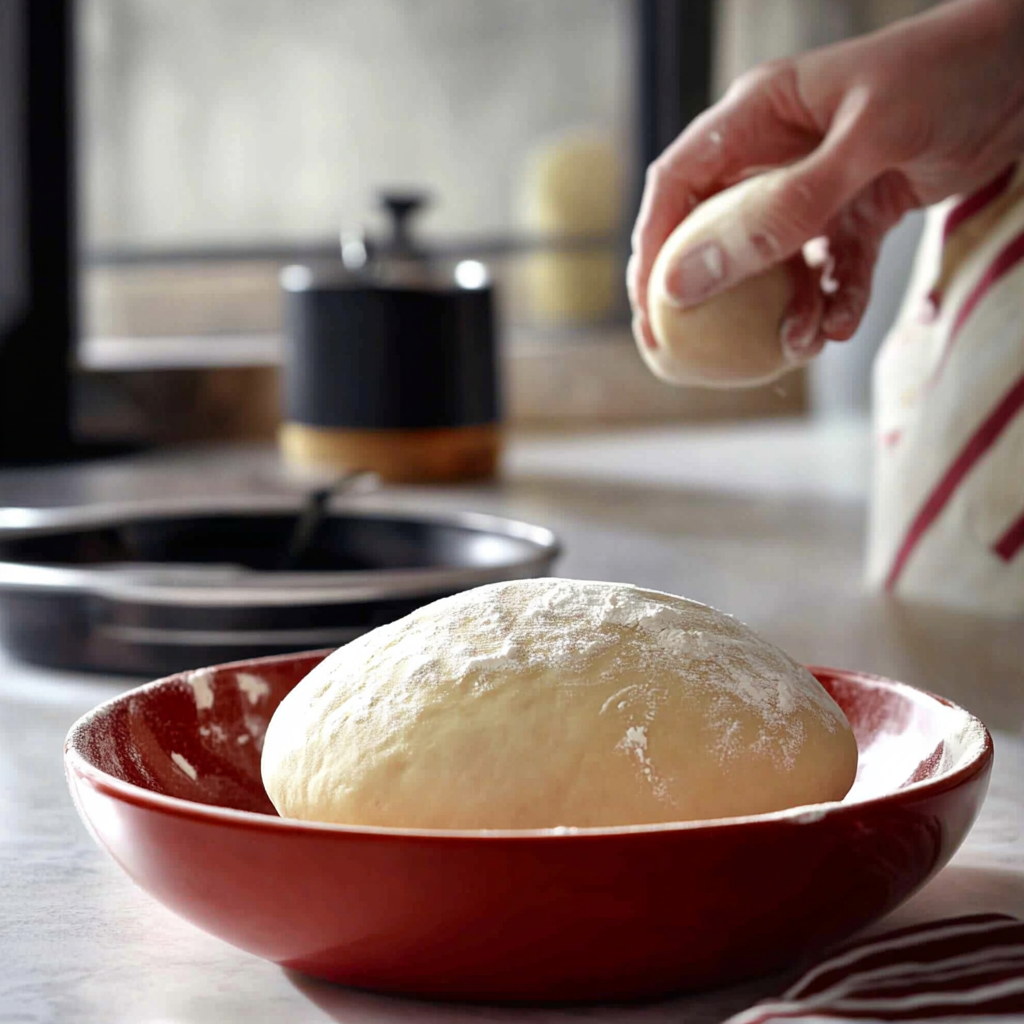
Step 5: Let It Rise
Shape your dough into a ball and place it in a greased bowl. Cover it with a damp cloth or plastic wrap and let it rise until doubled in size.
Transfer to plates or pans after rising for additional shaping before baking.
Tips and Tricks
Here are some helpful tips to ensure the best results for your dish:
- Dough Consistency: Aim for a slightly tacky but manageable texture; adjust flour or water as needed while kneading.
- Knead with Purpose: Use both hands effectively by applying firm pressure with your palms while keeping fingers curled inward.
- Advanced Technique: Try using “stretch and fold” methods instead of traditional kneading for artisan-style breads; this technique can improve air pockets within the loaf.
How to Serve How To Knead Dough
This How To Knead Dough is versatile and pairs wonderfully with:
Rice or Potatoes: A hearty base that soaks up the delicious sauce.
Fresh Salad: Adds a crisp and refreshing contrast to the rich flavors of the dish.
Crusty Bread: Perfect for enjoying every last drop of the flavorful sauce.
Grilled Vegetables: Their smoky flavor enhances the overall taste experience.
Pasta Dishes: A delightful pairing that complements the texture of the dough.
Feel free to pair it with your favorite sides for a personalized meal!
Make Ahead and Storage
- Make Ahead: You can prepare the dough in advance by mixing all ingredients and kneading it until smooth. Allow it to rise for about one hour, then shape it as needed. Store in an airtight container in the refrigerator for up to 24 hours.
- Storing: Keep any leftover dough in an airtight container or wrap it tightly in plastic wrap. It can be stored in the fridge for up to three days, or frozen for up to three months.
- Reheating: To reheat, let the dough come to room temperature before using it. If frozen, thaw it overnight in the refrigerator. Once ready, reshape if necessary and allow it to rest for about 30 minutes before baking or cooking.
Suggestions for How To Knead Dough
Avoid Overworking the Dough
One common mistake when learning how to knead dough is overworking it. While it’s essential to develop gluten for the right texture, excessive kneading can lead to tough, dense bread. When you knead too long, the gluten strands become overly tight and lose their elasticity. This results in a loaf that doesn’t rise as well and may have a chewy rather than tender texture.
To avoid this issue, start by kneading your dough for about 8-10 minutes. Check the dough’s texture periodically; it should be smooth and elastic but not overly stiff. If you notice that it’s harder to stretch or tear, stop kneading. Remember, you can always let it rest and then check again later. Allowing the dough to relax can help prevent over-kneading and create a better final product.
Skipping the Rest Period
Another mistake beginners often make is skipping the rest period before kneading. This step is crucial because it allows the gluten to relax, making it easier to stretch and shape later on. When you skip this step, your dough may resist shaping and could result in a denser final product.
To incorporate this technique effectively, let your dough rest for at least 15-30 minutes after mixing all ingredients but before kneading. During this time, cover the bowl with a damp cloth or plastic wrap to prevent drying out. You’ll find that after resting, the dough will be more manageable and easier to work with during your kneading process.
Using Too Much Flour During Kneading
When considering how to knead dough effectively, many people mistakenly believe that adding more flour will improve their results. In reality, using too much flour can dry out your dough and disrupt its texture. The goal is to achieve a slightly tacky surface without adding excess flour.
To avoid this mistake, start with the recommended amount of flour in your recipe. If your dough feels sticky, instead of dumping more flour directly into the bowl, sprinkle small amounts on your work surface as needed. This method allows you to maintain moisture while achieving a workable consistency without compromising the final texture of your bread.
Neglecting Proper Technique
Understanding how to knead dough properly involves using correct techniques that enhance both texture and flavor development. Many novice bakers neglect proper technique, leading to uneven gluten development and inconsistent results.
Focus on using the heel of your hand for pushing down on the dough while folding it over itself periodically. This motion helps distribute strength evenly throughout the mixture while developing gluten properly. Additionally, rotate your dough every few turns to ensure even kneading across all areas. Practicing these techniques will yield superior results in your baking endeavors.
FAQs for How To Knead Dough
What is the best way to know if my dough has been kneaded enough?
A common concern when learning how to knead dough is determining when it’s adequately developed. The best way to assess this is through touch; you should feel a smooth and elastic texture when ready. You can also perform a simple test known as the “windowpane test.” Take a small piece of dough and stretch it gently; if it forms a thin membrane without tearing, you have successfully kneaded your dough enough.
Can I use a stand mixer instead of hand-kneading?
Absolutely! A stand mixer can make learning how to knead dough much easier for beginners. Most mixers come equipped with a dough hook designed specifically for this purpose. When using a stand mixer, mix your ingredients until they form a shaggy mass before attaching the hook and allowing it to knead for around 5-7 minutes on low speed until smooth and elastic.
Why does my bread turn out dense after baking?
A dense loaf is often attributed to insufficient kneading or improper rising times during preparation—two critical factors in learning how to knead dough effectively. If there isn’t enough gluten development or if the yeast doesn’t have time to work properly during proofing stages, density issues arise post-baking. Always follow recommended timings outlined in recipes and check for proper gluten elasticity before proceeding.
Is it necessary to use special flour for bread?
While you don’t need specialized flour every time you’re learning how to knead dough, certain types do yield better results for specific recipes. Bread flour contains higher protein levels than all-purpose flour, which helps create stronger gluten structures necessary for good rise and chewiness in breads like baguettes or artisan loaves.

Conclusion :
In summary, mastering how to knead dough requires attention to key practices that enhance texture and flavor in baked goods. Avoid common mistakes such as overworking your dough or skipping essential resting periods that influence elasticity and rise quality significantly. Employ proper techniques while being mindful of ingredient amounts—especially flour—to achieve optimal hydration levels throughout your mixture.
With patience and practice following these guidelines will lead you toward creating delicious homemade bread consistently!
Master the Art of Kneading Dough
Course: All Recipes, Appetizers12
servings15
minutes30
minutes150
kcalIngredients
All-Purpose Flour
Active Dry Yeast
Warm Water
Sugar
Salt
Directions
- In a large bowl, combine flour, sugar, salt, and yeast. Gradually add warm water while stirring to form a rough dough.
- Transfer the dough to a floured surface and begin kneading by folding and pressing with your palms for about 8-10 minutes until it’s smooth and elastic.
- Perform the windowpane test to check if the dough is ready; it should stretch without tearing.
- Shape into a ball and place in a greased bowl; cover with a damp cloth and let it rise until doubled in size.
Notes
- For added flavor, consider incorporating herbs or spices into the dough.
If you’re short on time, allow for a shorter rise period; however, longer rises enhance flavor.
You can experiment by substituting half of the all-purpose flour with whole wheat flour for added nutrition.


