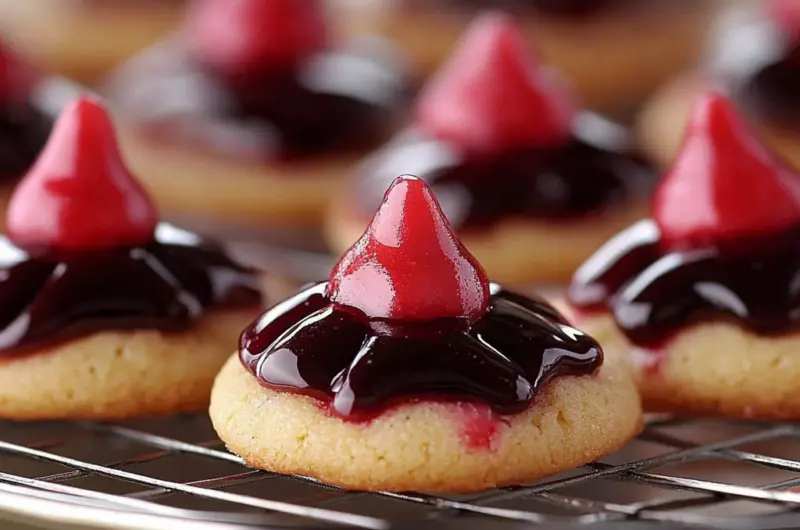
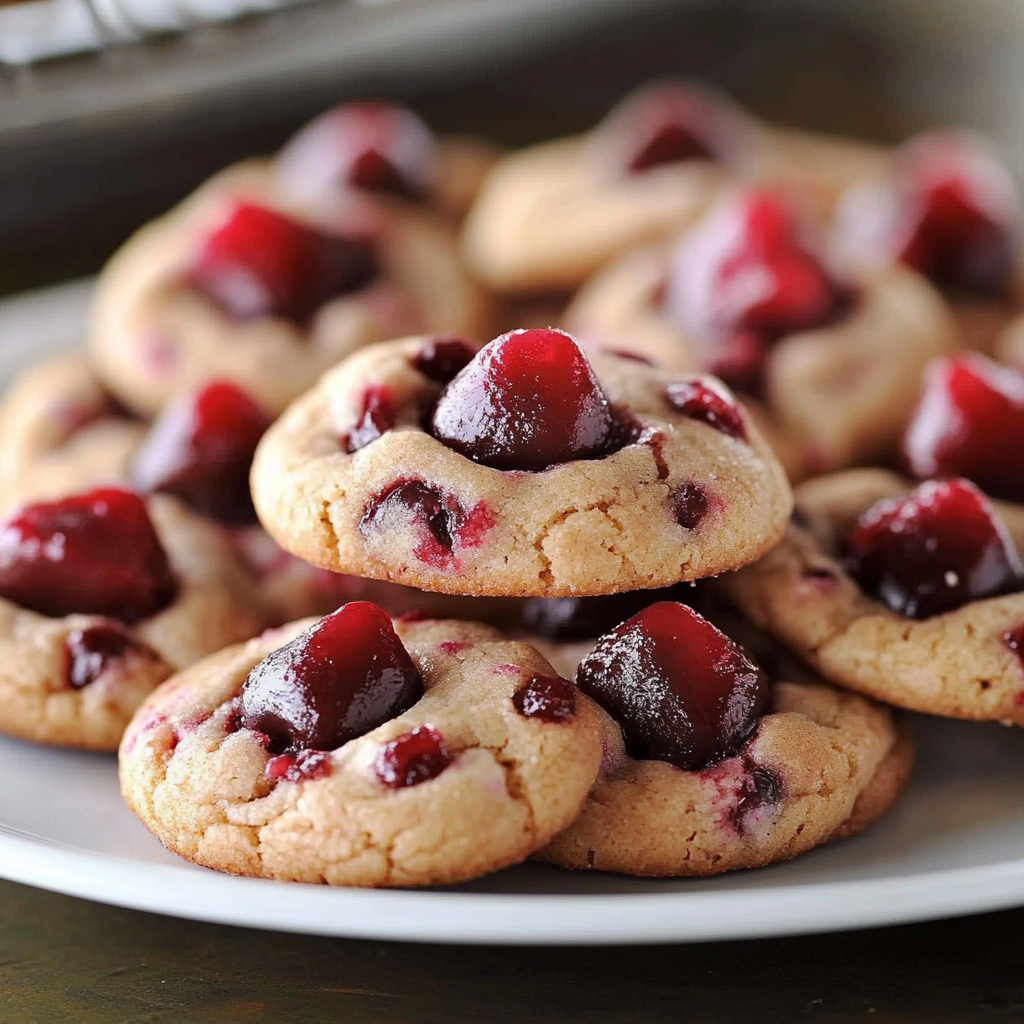
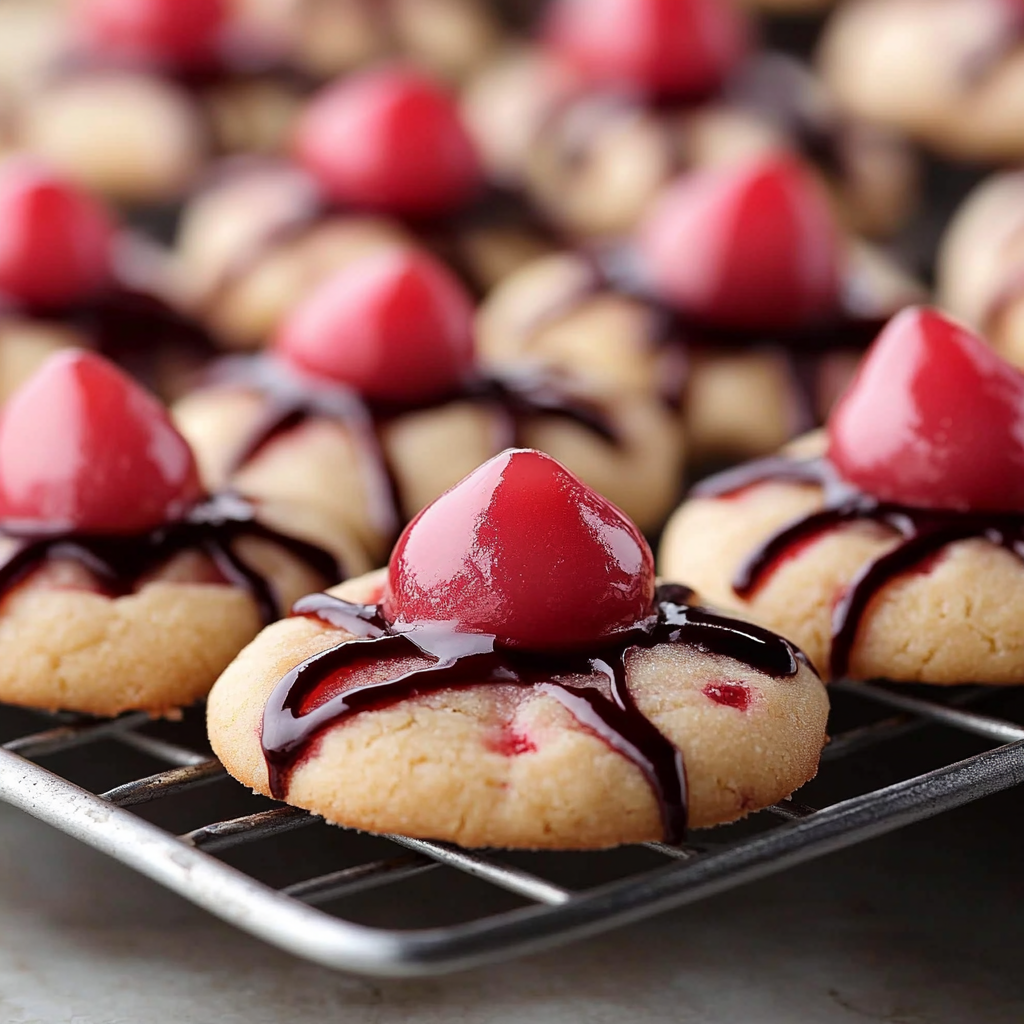
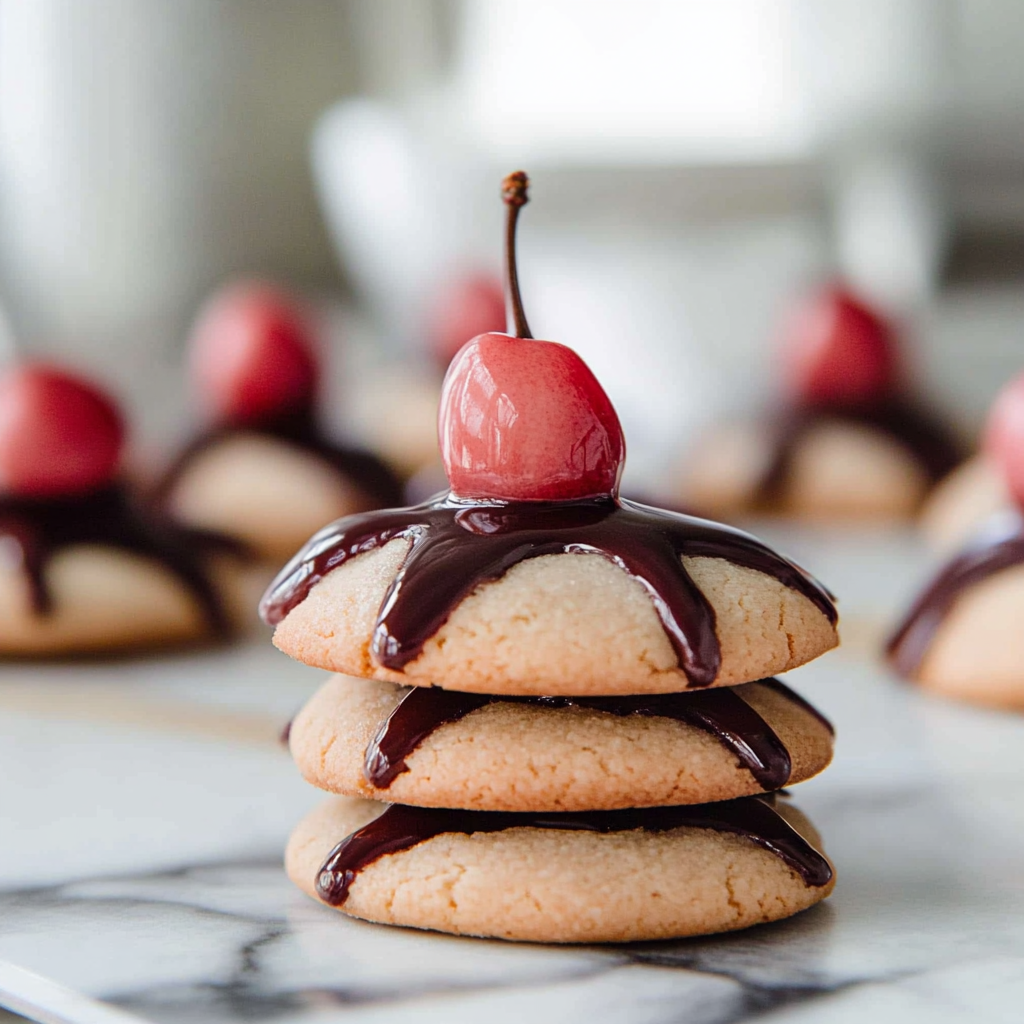
Cherry Kiss Cookies are a delightful treat that combines the sweetness of cherries with the rich taste of chocolate. They are perfect for any occasion, whether it’s a family gathering, a holiday celebration, or just a sweet craving at home. These cookies are not only visually appealing with their vibrant red cherry centers but they also offer a satisfying texture that balances chewy and crunchy perfectly. The best part is that making these cookies is simple and straightforward, allowing even novice bakers to impress friends and family with minimal effort.
In this article, we’ll walk you through everything you need to know about creating these scrumptious Cherry Kiss Cookies. From selecting the right ingredients to mastering each step of the baking process, you will find all the tips necessary to ensure success. With their charming appearance and delectable flavor, Cherry Kiss Cookies will surely become a favorite in your household. Let’s dive into why you’ll love this recipe!
Why You’ll Love This Cherry Kiss Cookies
-
- Quick and Easy: With minimal prep time and straightforward steps, even novice cooks can create this delightful dish without stress.
-
- Flavorful Delight: The combination of sweet cherries and rich chocolate creates an irresistible flavor profile that will satisfy any sweet tooth.
-
- Perfect for Sharing: These cookies make an excellent gift or treat to share at gatherings, ensuring everyone gets a taste of something special.
- Customizable Options: You can easily switch up the fillings or toppings based on your preferences or what’s in season.
Ingredients for Cherry Kiss Cookies
Here’s what you’ll need to make this delicious dish:
- All-Purpose Flour: This forms the base of your cookie dough; ensure it’s fresh for best results.
- Baking Powder: A leavening agent that helps the cookies rise and achieve a light texture.
- Sugar: Granulated sugar adds sweetness; you can use brown sugar for a deeper flavor.
- Unsalted Butter: Softened butter gives richness; make sure it’s at room temperature before using.
- Eggs: Eggs bind the ingredients together and provide moisture for chewy cookies.
- Vanilla Extract: Pure vanilla extract enhances the overall flavor profile of your cookies.
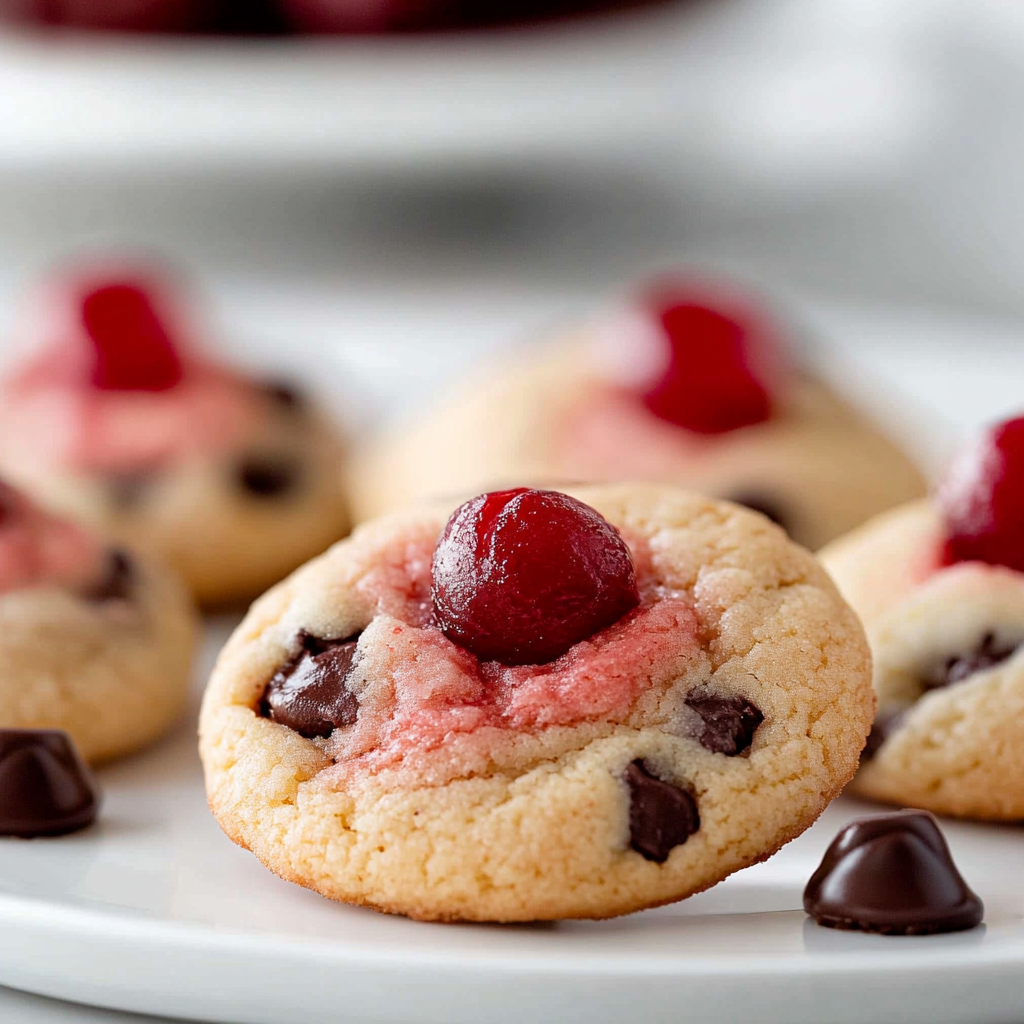
- Cherries (fresh or canned): Use pitted cherries as a delightful filling; they add both taste and color to the cookies.
- Chocolate Chips: Semi-sweet chocolate chips complement the tartness of cherries beautifully.
The full ingredients list, including measurements, is provided in the recipe card directly below.

How to Make Cherry Kiss Cookies
Follow these simple steps to prepare this delicious dish:
Step 1: Preheat Your Oven
Preheat your oven to 350°F (175°C). Prepare two baking sheets by lining them with parchment paper.
Step 2: Mix Dry Ingredients
In a bowl, whisk together flour and baking powder until well combined. Set aside for later use.
Step 3: Cream Butter and Sugar
In another large mixing bowl, cream together softened butter and sugar until light and fluffy using an electric mixer.
Step 4: Add Wet Ingredients
Add eggs one at a time along with vanilla extract to the creamed mixture. Beat until fully incorporated.
Step 5: Combine Mixtures
Gradually add the dry ingredients into the wet mixture. Mix until just combined; avoid over-mixing.
Step 6: Shape Cookies
Scoop tablespoon-sized amounts of dough. Flatten slightly in your palm before placing one cherry in each center. Encase it with dough.
Transfer to prepared baking sheets, leaving space between each cookie. Bake for 12-15 minutes or until edges are lightly golden. Allow cooling on racks before serving.
Tips and Tricks
Here are some helpful tips to ensure the best results for your dish:
- Room Temperature Ingredients: Always use room temperature butter and eggs for better incorporation into your cookie dough.
- Don’t Overmix: Mix just until combined after adding dry ingredients; this keeps your cookies tender instead of tough.
- Add Texture: Consider mixing in nuts or coconut flakes if you want added texture in your cookies for variation.
- Advanced Technique: Chill your cookie dough before baking for thicker cookies that hold their shape better during baking.
Enjoy making these delightful Cherry Kiss Cookies!
How to Serve Cherry Kiss Cookies
This Cherry Kiss Cookies is versatile and pairs wonderfully with:
Ice Cream: A scoop of vanilla ice cream complements the sweet and tart flavors of the cookies perfectly.
Chocolate Sauce: Drizzling warm chocolate sauce over the cookies adds an indulgent touch that chocolate lovers will enjoy.
Coffee or Tea: The rich flavors of these cookies make them a delightful pairing with your favorite hot beverage.
Fresh Berries: Serving with fresh berries enhances the fruity notes in the cookies, providing a refreshing contrast.
Feel free to pair it with your favorite sides for a personalized meal!
Make Ahead and Storage
- Make Ahead: You can prepare the cookie dough in advance and refrigerate it for up to 3 days. Just roll into balls before baking when you’re ready to enjoy them.
- Storing: Store leftover Cherry Kiss Cookies in an airtight container at room temperature for up to 5 days. For longer storage, place them in the freezer where they can last for up to 3 months.
- Reheating: To reheat, preheat your oven to 350°F (175°C) and bake the cookies for about 5-7 minutes, just until warmed through while maintaining their chewy texture.
Suggestions for Cherry Kiss Cookies
Be Careful with the Dough Consistency
One of the most common mistakes when making Cherry Kiss Cookies is not achieving the right dough consistency. If your dough is too dry, the cookies will crumble and lack that delightful chewy texture. Conversely, if it’s too wet, the cookies may spread excessively during baking, resulting in flat shapes that don’t hold their form. To avoid this, ensure you measure your flour accurately using a kitchen scale or the spoon-and-level method. It’s also essential to use room-temperature butter, as it blends more easily with sugar and other ingredients. When mixing the dough, stop just before it comes together completely; a few flour streaks are acceptable. This method ensures a tender cookie that holds its shape while baking.
Don’t Skimp on Chilling Time
Chilling your dough is another crucial step that many bakers overlook. Not allowing the dough to chill can lead to cookies that spread too much during baking, which alters both their appearance and texture. Chilling the dough for at least 30 minutes solidifies the fat in the cookies, helping them maintain their shape in the oven. This step also enhances flavor development as the ingredients meld together over time. For best results, wrap your cookie dough tightly in plastic wrap or place it in an airtight container before chilling. You can even prepare the dough a day ahead and bake them fresh when you’re ready!
Use Quality Ingredients
The quality of ingredients significantly affects the flavor and texture of Cherry Kiss Cookies. Using fresh cherries—whether they are dried or maraschino—can elevate your cookies from good to exceptional. Additionally, opt for pure vanilla extract instead of imitation vanilla for a richer flavor profile. Don’t forget about your chocolate kisses; choose high-quality chocolate for a better melt-in-your-mouth experience when you bite into these treats. Organic or natural ingredients can impact not only taste but also how well everything binds together during baking.
Proper Baking Temperature Matters
Baking at the correct temperature is vital for achieving perfectly baked Cherry Kiss Cookies. If your oven runs hot or cold, it might lead to uneven cooking, resulting in burnt edges or undercooked centers. Always preheat your oven to 350°F (175°C) before placing your cookies inside. An oven thermometer can help you check if your oven’s temperature aligns with what you set it to. Furthermore, rotating your cookie sheets halfway through baking ensures uniform heat distribution so all cookies come out golden brown and delicious.
FAQs for Cherry Kiss Cookies
What makes Cherry Kiss Cookies unique?
Cherry Kiss Cookies stand out due to their delightful combination of flavors and textures. The tartness of cherries pairs beautifully with rich chocolate kisses, creating a sweet yet tangy experience in every bite. These cookies are often soft and chewy on the inside while slightly crisp on the edges, making them irresistible treats for any occasion. Additionally, their vibrant red cherry color adds a festive touch to dessert trays or holiday gatherings.
Can I use different types of cherries in my Cherry Kiss Cookies?
Absolutely! You can experiment with various types of cherries based on availability and preference when making Cherry Kiss Cookies. Fresh cherries add a juicy burst of flavor but require pitting and chopping beforehand. Dried cherries offer concentrated sweetness and chewiness without added moisture—perfect if you prefer a firmer cookie structure. Maraschino cherries can also work well if you’re looking for something sweeter with an eye-catching pop of color.
How do I store leftover Cherry Kiss Cookies?
To keep your Cherry Kiss Cookies fresh after baking, store them in an airtight container at room temperature for up to one week. If you want to extend their shelf life, consider freezing them! Just allow the cookies to cool completely before placing them in a resealable freezer bag or container lined with parchment paper between layers to prevent sticking. Frozen cookies can last up to three months; simply thaw them at room temperature when you’re ready for a sweet treat.
Can I make Cherry Kiss Cookies gluten-free?
Yes! You can easily adapt Cherry Kiss Cookies to be gluten-free by substituting regular flour with gluten-free all-purpose flour blends available at most grocery stores. Ensure that any additional ingredients, like chocolate kisses and cherries, are also gluten-free certified if needed. Be mindful that gluten-free flours may produce slightly different textures—experimenting may yield delicious results while still delivering that classic cherry-chocolate combination!

Conclusion for Cherry Kiss Cookies
In conclusion, mastering Cherry Kiss Cookies involves paying attention to detail at each step of the process—from selecting high-quality ingredients to properly measuring flour and chilling dough adequately before baking. Avoiding common pitfalls such as incorrect dough consistency or improper baking temperatures will ensure delightful treats every time you bake them! Remember that experimentation is key; feel free to adjust recipes based on personal preferences while keeping core techniques intact for success every time you indulge in these charming cherry-filled delights!
Irresistible Cherry Kiss Cookies Recipe
Course: All Recipes, Desserts4
servings30
minutes40
minutes300
kcalCherry Kiss Cookies are a delightful blend of sweet cherries and rich chocolate, making them the perfect treat for any occasion. These visually stunning cookies feature vibrant red cherry centers surrounded by a soft and chewy cookie dough, offering a mouthwatering experience in every bite. Ideal for sharing at gatherings or indulging at home, this easy-to-follow recipe ensures that even novice bakers can create these irresistible delights with minimal effort. Whether you serve them warm from the oven or alongside ice cream, Cherry Kiss Cookies are sure to become a family favorite.
Ingredients
All-purpose flour
Baking powder
Granulated sugar
Unsalted butter
Eggs
Vanilla extract
Fresh or canned cherries (pitted)
Semi-sweet chocolate chips
Directions
- Preheat your oven to 350°F (175°C) and line baking sheets with parchment paper.
- In a bowl, whisk together flour and baking powder; set aside.
- Cream softened butter and sugar until light and fluffy. Add eggs and vanilla; mix until combined.
- Gradually add dry ingredients to wet mixture, mixing until just combined.
- Shape tablespoon-sized dough balls, placing one cherry in each center before encasing it with dough.
- Bake for 12-15 minutes or until lightly golden around the edges. Cool on racks before serving.
Notes
- For added texture, consider incorporating nuts or coconut flakes into the dough.
Experiment with different types of cherries for unique flavor variations.